
Add Search To Your Chatbot Using IBM Watson Assistant & Watson Discovery
When Predefined Dialog Responses Do Not Suffice
Introduction
Firstly…typically, chatbots are constituted by four pillars.
These pillars are:
- Intents
- Entities
- State Machine (aka Dialog Tree/Flow)
- Script / Dialog / User Messages
The dialog is fairly rigid and predetermined based on the where the conversation state is. There are environments which allow you multiple dialogs / messages per state.
In some instances a specific conversation state can have multiple messages which can be displayed sequential or random. This lends the illusion of liveness to the conversation.
Secondly, chatbots are narrow domain. Only addressing a specific topic, set of services, or products. The moment the user veers off the defined path, then a fallback prompt needs to be invoked.
This informs the user that they have reach the fringe of the conversational agent’s ability and need to head inland.
Would it not be convenient to add a search element to your chatbot. When intents are not explicitly catered for, a search can be conducted on a corpus of data and at least something relevant is returned to the user.
Many solutions have this functionality available, yet it is not widely implements.
Search Skills in Watson Assistant with Discovery
Watson Discovery
Here is a step-by-step implementation of a search skill and adding it to an assistant. Using search functionality within the IBM Cloud offering. In this example we are going to make use of IBM Watson Assistant. This in essence will constitute our chatbot.
Added to this we will also make use of IBM Watson Discovery.
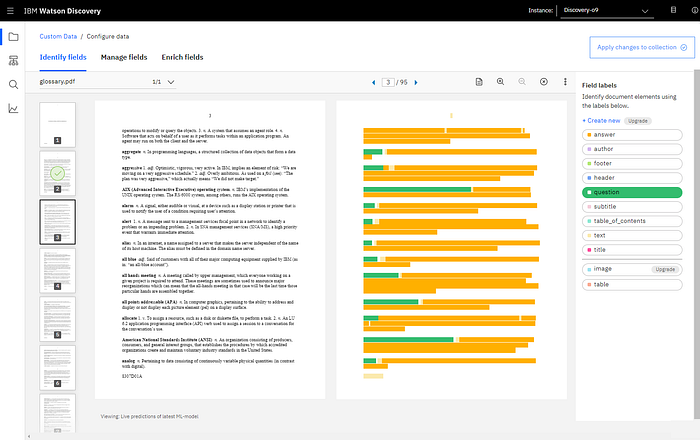
In short, Discovery is an IBM Cloud service allowing you to upload data, which becomes a searchable body of data. This is very convenient and fast to convert existing data, in virtually any format, into a searchable form.
Documents like PDF, CSV, Word etc. can be uploaded and annotated. Custom Tags can be created for specific annotation. Very conveniently, as you annotate, Discovery use your annotation to make live predictions in the document. So for a this document, I only had to manually annotate about 10 pages. This obviously depends on how standard your document is.
For an organization and production environment it is advisable to organize the data in a JSON format, preferable with a heading, body and URL reference. This will make the results yielded by Discovery more predictable and tidy in all instances.
Discovery Demo
Here, I took the Dictionary of IBM and Computing Terminology (PDF, 313KB) document.
For the following reasons:
- It his not too much data to upload, only 95 pages.
- The format of the document is very structured throughout and the live predictions of the ML function made the process even faster.
Hence it makes for a convenient questions and answer model without having to rework the data into a specific format.
Getting Started With Discovery
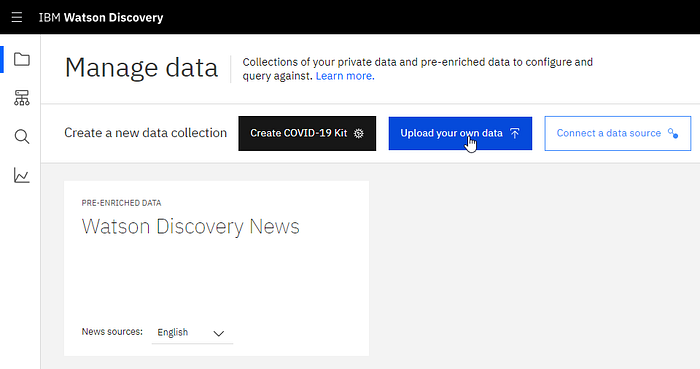
There is an existing Data Collection in Discovery; Watson Discovery News. But we want to create our own one. So, click on Upload your own data…
The data-upload interface cannot be simpler, you can drag and drop your files, or select it.
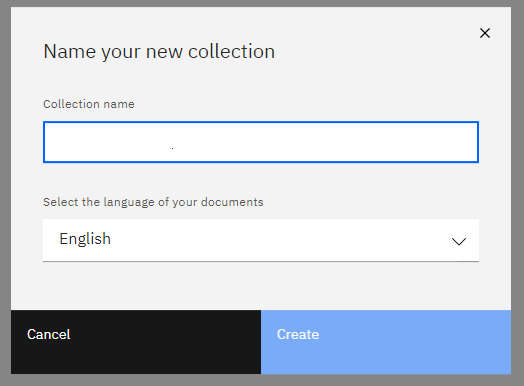
You can see here the formats which provision is made for, PDF, HTML, JSON, Word, Excel, PowerPoint, PNG, TIFF, JPG and more. The language of the document needs to be defined, and this list is not vast.
In the cases where your documents are in another language, translation will be necessary.
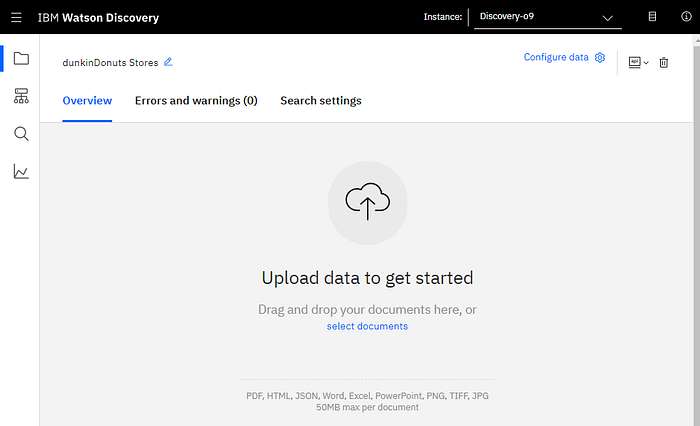
When you upload large files, the process take quite a while. If the JSON structure is too complex or nested, Discovery fails. So try and simplify your JSON as much as possible.
Processing of data can take a while; keep an eye on the Errors and warnings to identify any problem areas in your data.
Data Annotation
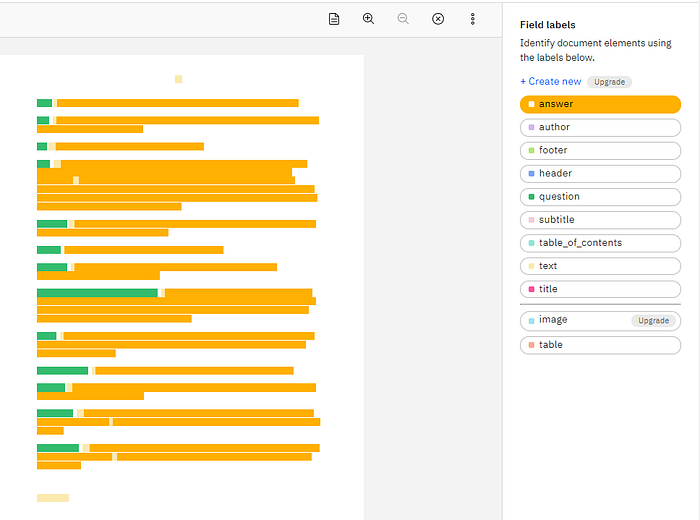
The annotation of data is crucial in having accurate results. This is a manual process, but is simplified by the predictive annotation.

This is a Machine Learning model, which in real-time, learns from your manual annotation and propagates this forward in the document. You will find yourself going from annotating, to review, to just skipping through the pages.
Test Search Your Document In Discovery
Lastly, search your document and test the results. The beauty of this is, you can search our data and documents making use of natural language.
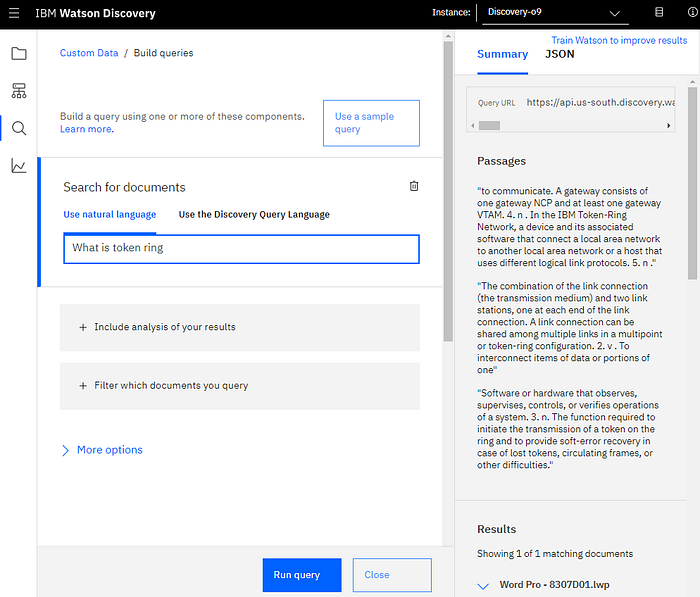
Already in Discovery you can test your data making use of natural language understanding.
Watson Assistant ~ The Chatbot
Now we move to the chatbot portion making use of IBM Watson Assistant (WA).
WA allows for a assistant to be created. Within this assistant one or more skills can exist. Skills can be seen as different components or smaller chatbots which can be combined into one larger assistant.

Within a larger organization, you can have different departments working on different skills and then these skills can be combined into one larger assistant.
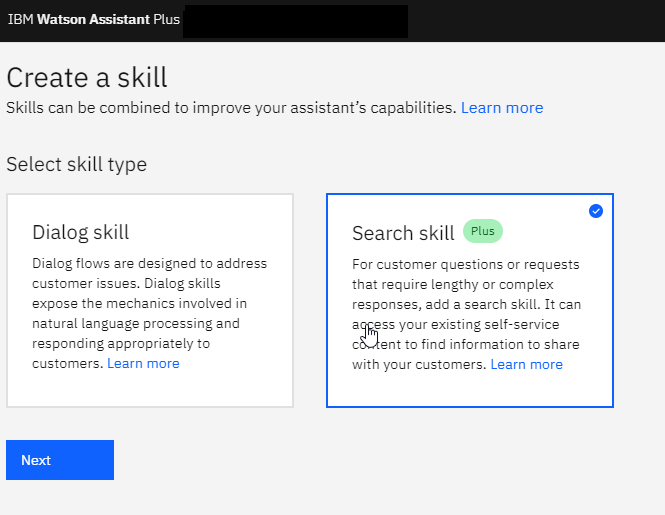
These skills can be a dialog, or a search skill.
Adding Search Skill
We have an existing customer care skill in our assistant. And now we are adding this additional search skill.
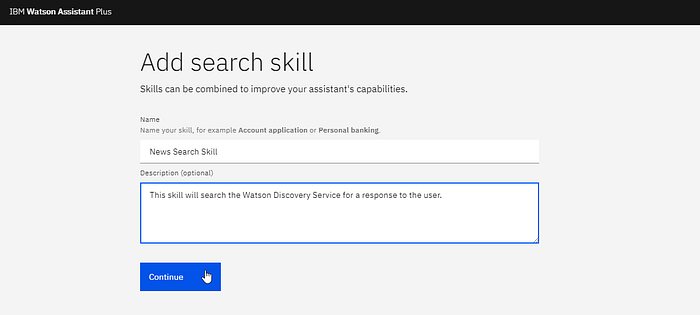
After adding a name and description to the search skill, the next window loads the Discovery instances available to WA. This can also take a while.
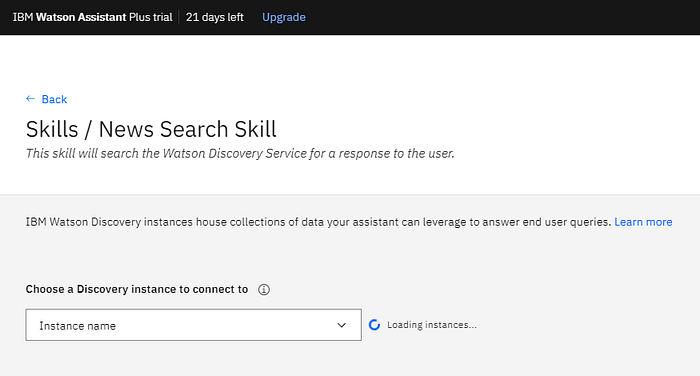
We do not want to create a new collection. However, the fact that we can launch from WA is convenient. But, we choose the collection we created earlier, called Custom Data.

Chatbot Data Presentation
The next window allows yo to set the data which will be presented in the:
- Title
- Body
- and the URL
You can also define a message which will inform the user about the source of the data, and that it is indeed a search result.
Define a message if you could not find any data, or should there be connectivity issues.
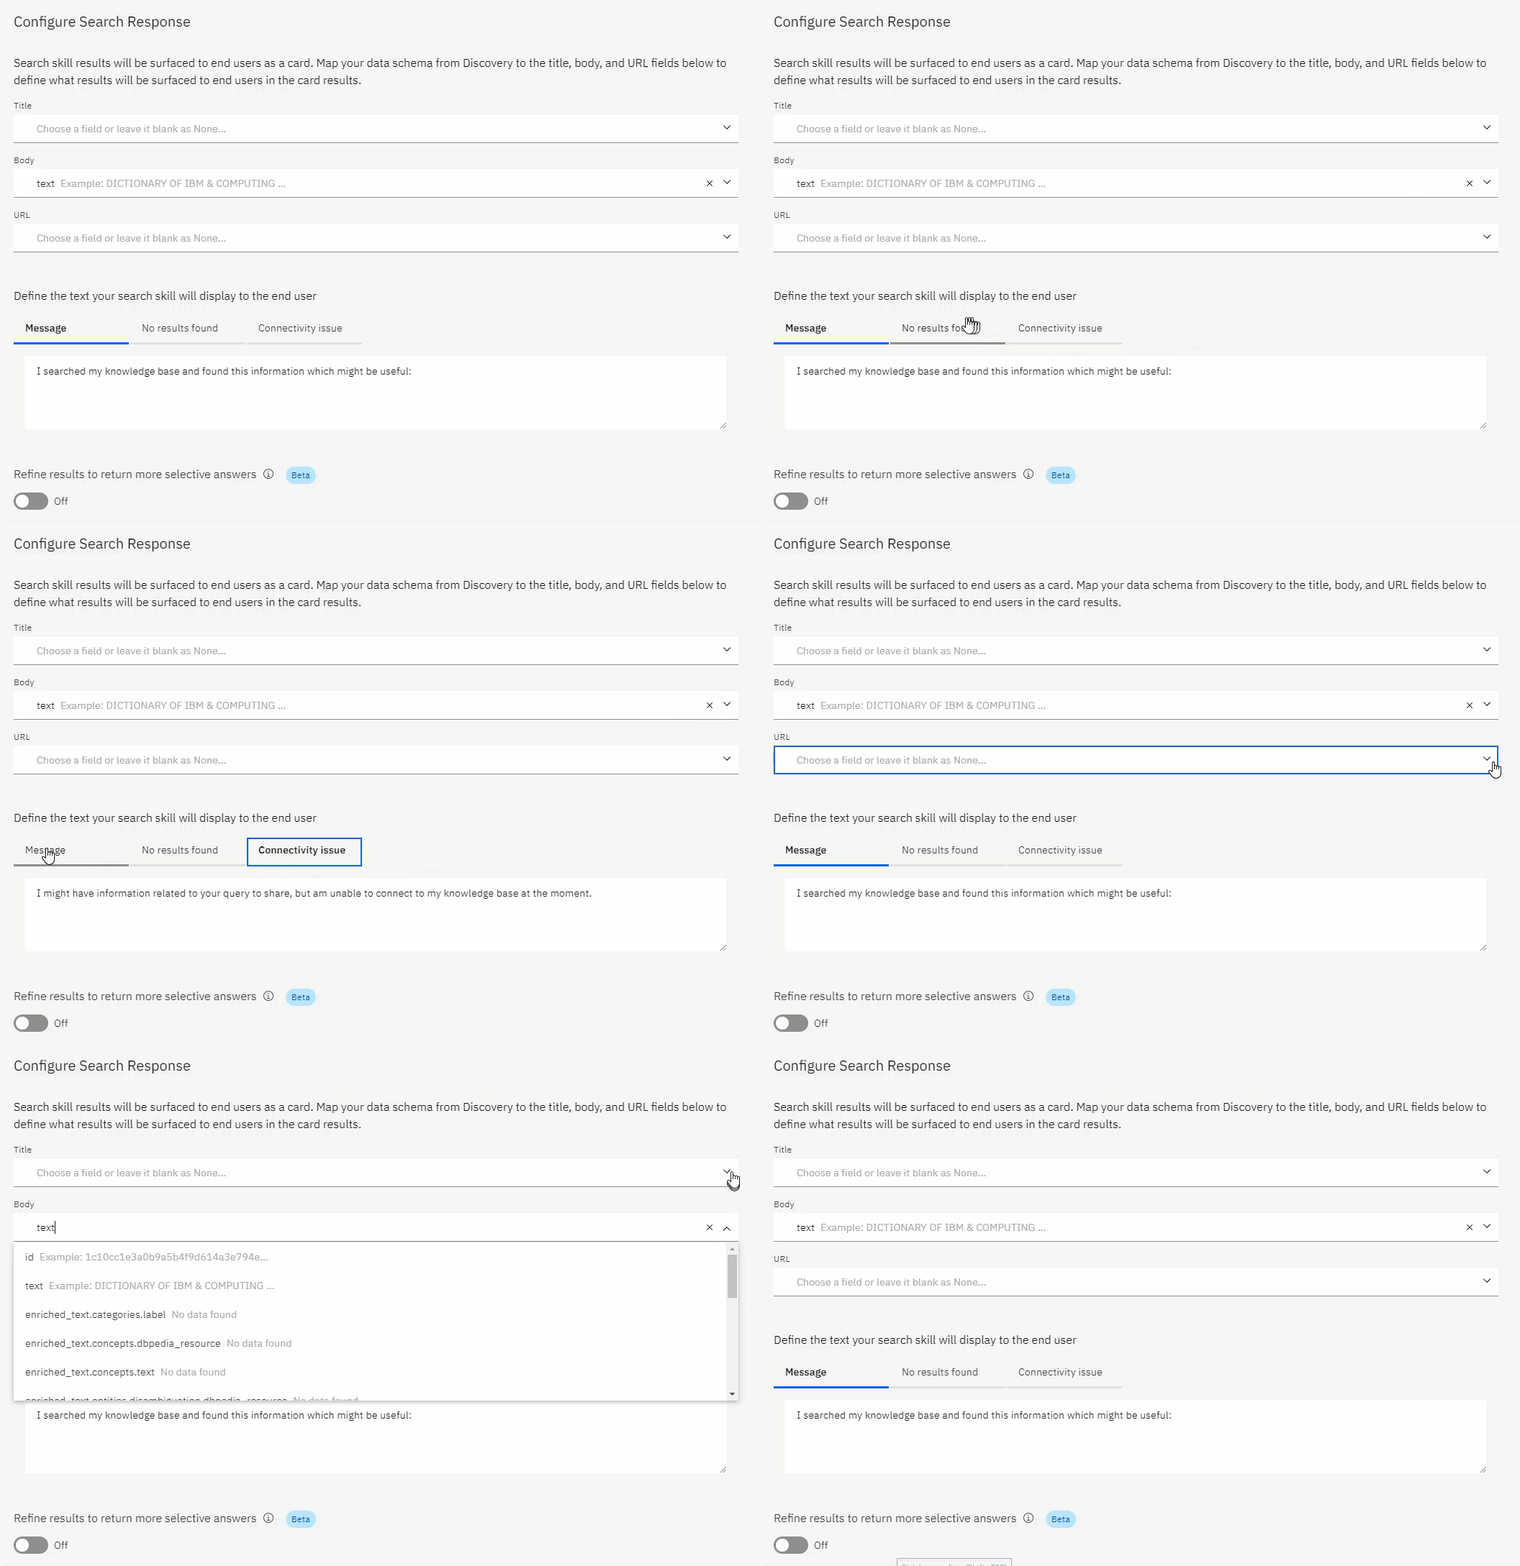
It is best practice to be as transparent as possible with a user.
Always announce it is indeed a bot, and not human. Announce when you return search result data which was not directly curated for that particular point in the conversation.
And, state when there is a connectivity issue, or when no results are return.
Watson Assistant Components
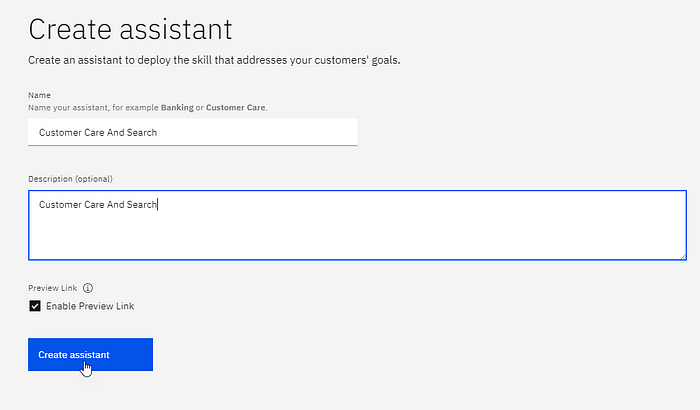
Once you have launched WA, there is an option to create an assistant. Define the name of your assistant, and a description. Preview Link we discuss later in this article.
Preview Link allows for the creation of a preview URL to be created and distributed for previews and testing. Changes to the underlying chatbot are reflected on the preview interface.
Going back to the assistant, you will see there are two skills which constitutes this assistant; a Customer Care skill, and the search skill.
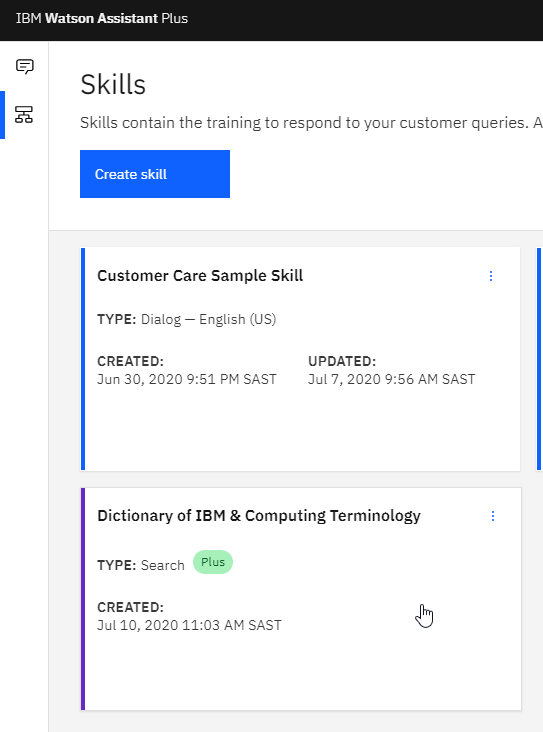
The idea here is, if the Customer Care skill cannot address the user intent, then WA will automatically fail over to the search skill and yield an answer.
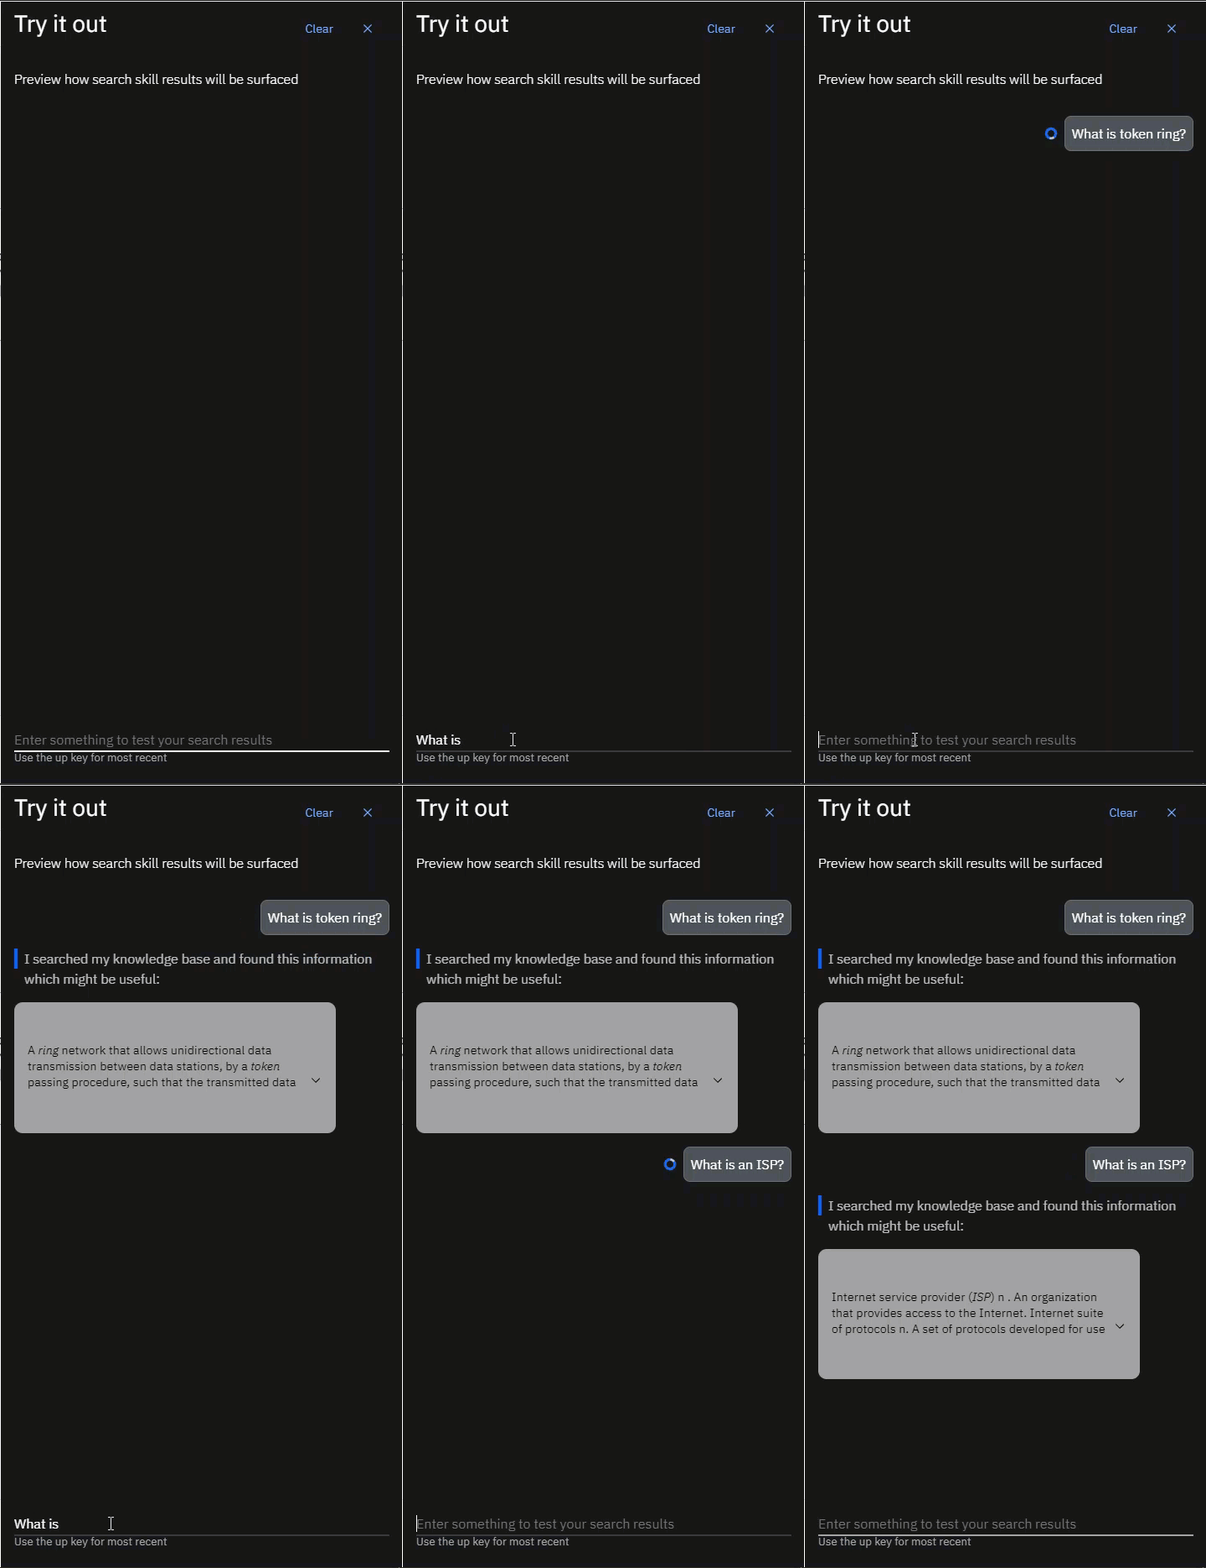
Here is a view of our Customer Care and Search assistant. Watson Assistant will serve the chat session from the Customer Care Sample Skill. If this skill cannot address the query, WA will fail-over to the search skill.
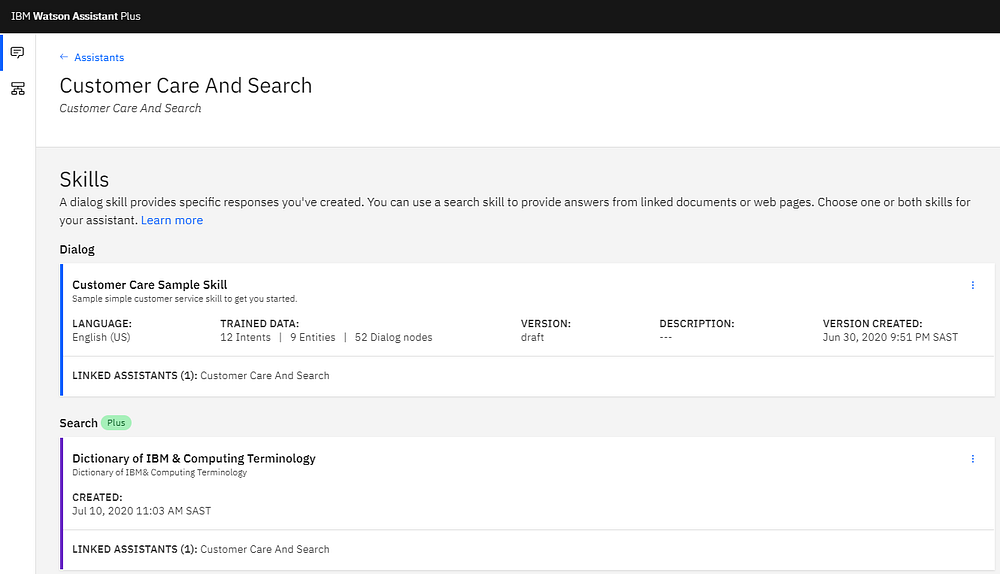
There are numerous options to deploy the assistant; like Facebook Messenger, Slack, Web Chat. For the purposes for illustration, we are going to use the preview link.
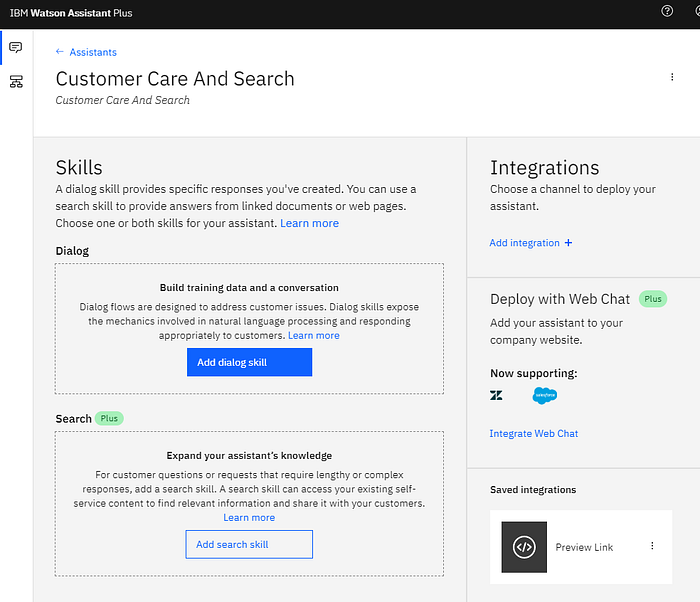
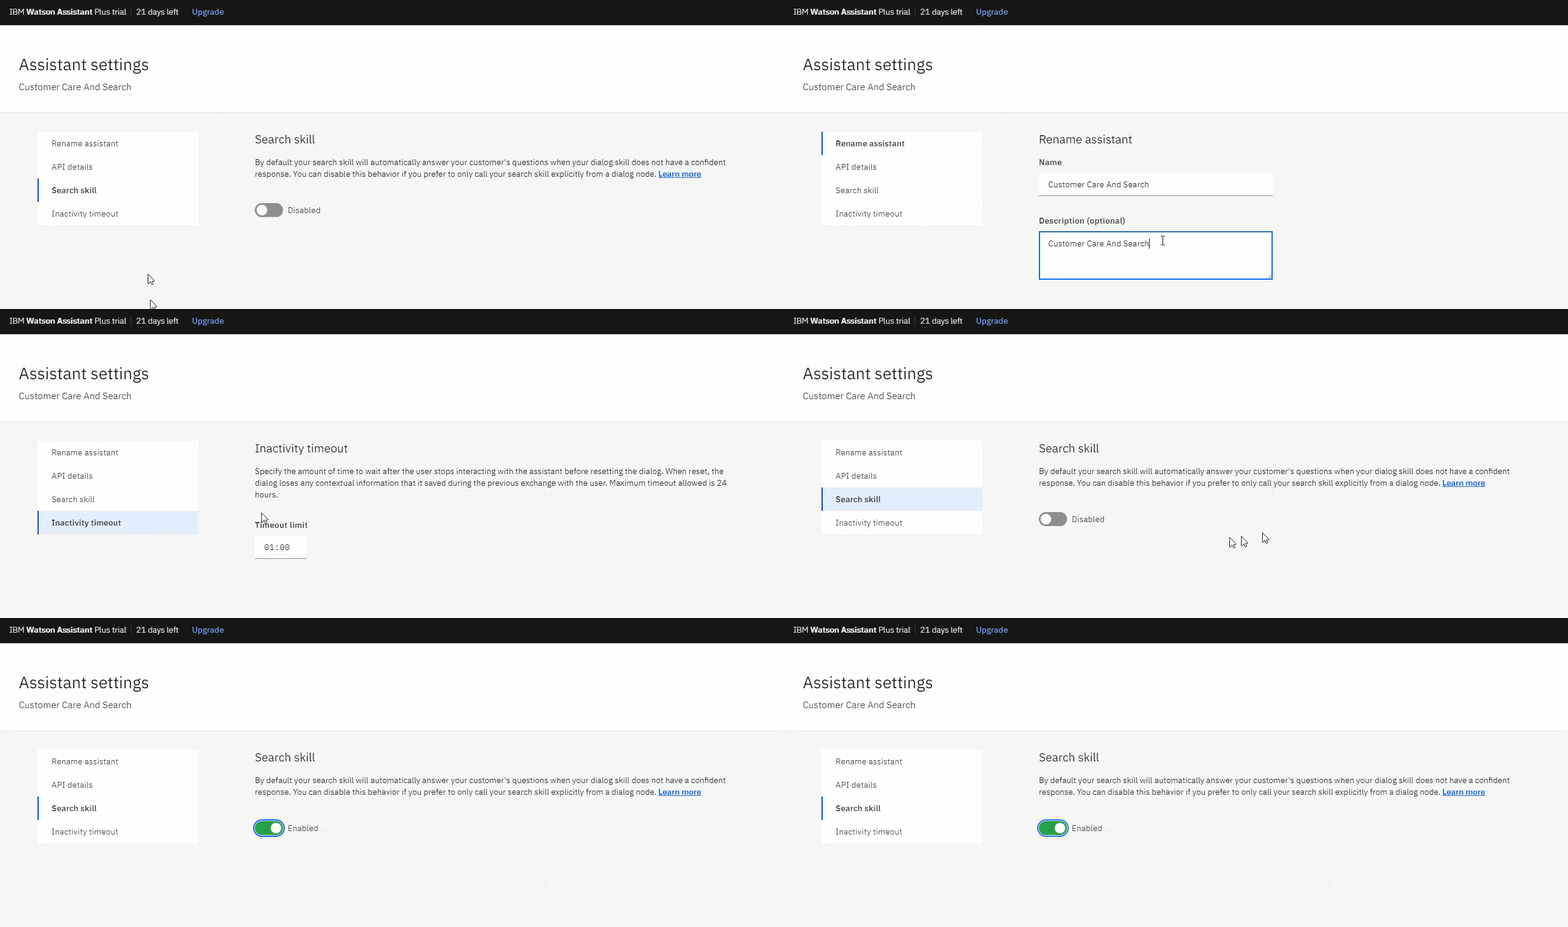
There are a few basic configuration options available to the assistant. Toggle the availability of the search skill, inactivity timeout, API Details and naming.
In this preview interface, you can see the “Where are your office located?” is addressed by the default customer care skill. The technical questions are addressed by search skill.

Conclusion
This example illustrates how a conventional chatbot can be augmented by a body of searchable data. This can relieve the dependence on fallback intent, which invariably results in fallback proliferation.
Especially in a larger organization where a large amount of data exist, which can be made available to a conversational interface.
